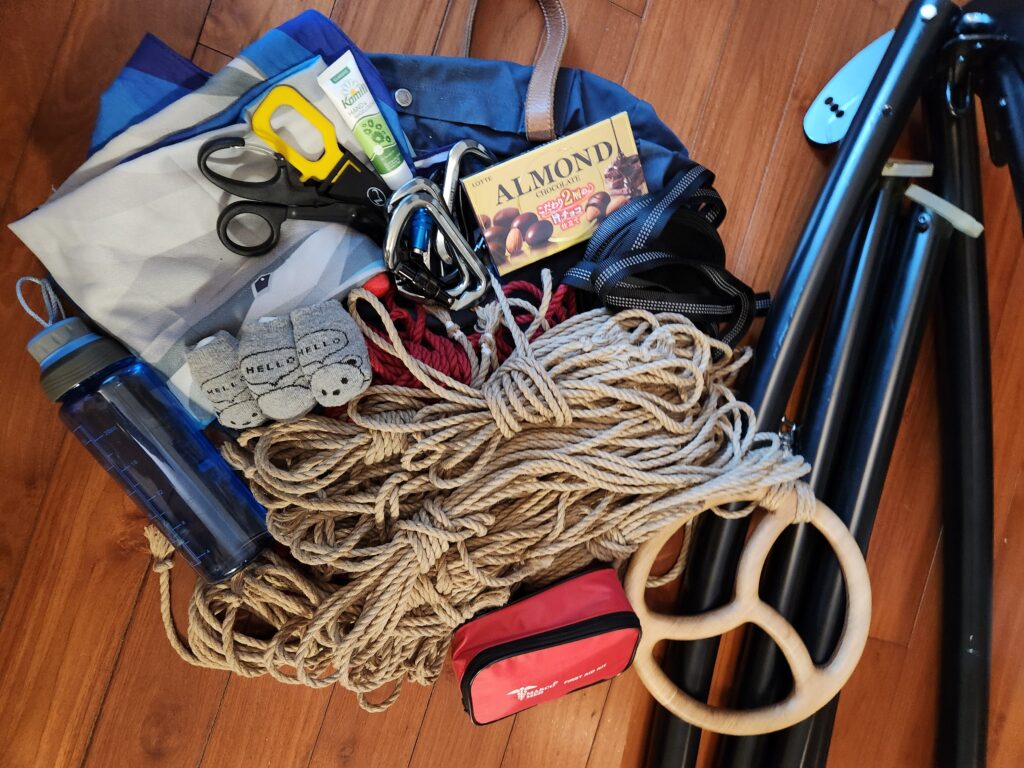
In our new blog, we would like to show you our shibari journey, what we’ve learned, and what we will continue to learn. So, like a book, let’s start with the contents within – our tailor-made rope bag. In it, you will find some very personal items alongside some common items that you might expect.
Highly Recommended Items
These items are not necessary for an essential rope kit. However, we think they are very beneficial and we would not like to leave them out. These items might vary wildly from person to person.
Handcream
After a longer shibari session, my hands usually are quite strained and dry. Having a small tube of hand cream when you are out and about is a godsend. It revitalizes your skin and feels good for soothing your hands.
I usually like the ones that dry really quickly, but after shibari, I prefer the more fatty ones. They simply stay on your skin longer while you can massage your hands.
Rope smell-good bags

In order to keep our rope dry and smelling good (we live in a tropical country) we throw in some dry bags with a good smell for our ropes. Not only do they absorb moisture to prevent rot, but they also make the tying experience better if you have a nice-smelling rope.
You can get dehumidifying bags at the supermarket, but we simply put rice or baking soda in a teabag or two. To make it look cute, you can pack them in some cloth – baby socks are working well here and you can get them in all kinds of cute patterns.
On top of that – if you like your rope smelling nice – add a few drops of essential oil to the rice. Tea tree is our favorite scent, as it gives that meditative vibe, that sets the tone really well for a shibari session. Please make sure to check if your rope partner also likes the smell and for potential allergies. Nothing worse than being tied to a rope when you don’t like the smell.
Water and something sweet
Having water on site for you or your rope partner is really crucial. If someone does not feel well, or the session was a bit more intense having some fresh water can help.
Also, having something sweet after a session is also important. If your rope model is feeling a bit lightheaded, some sugar can help to stabilize. For us, chocolate is the best option since it’s the best kind of sweet :D. Juice or candy works faster if you have low blood sugar.
Just bring a bottle of water and something sweet, it’s always good to have it!
Furoshiki
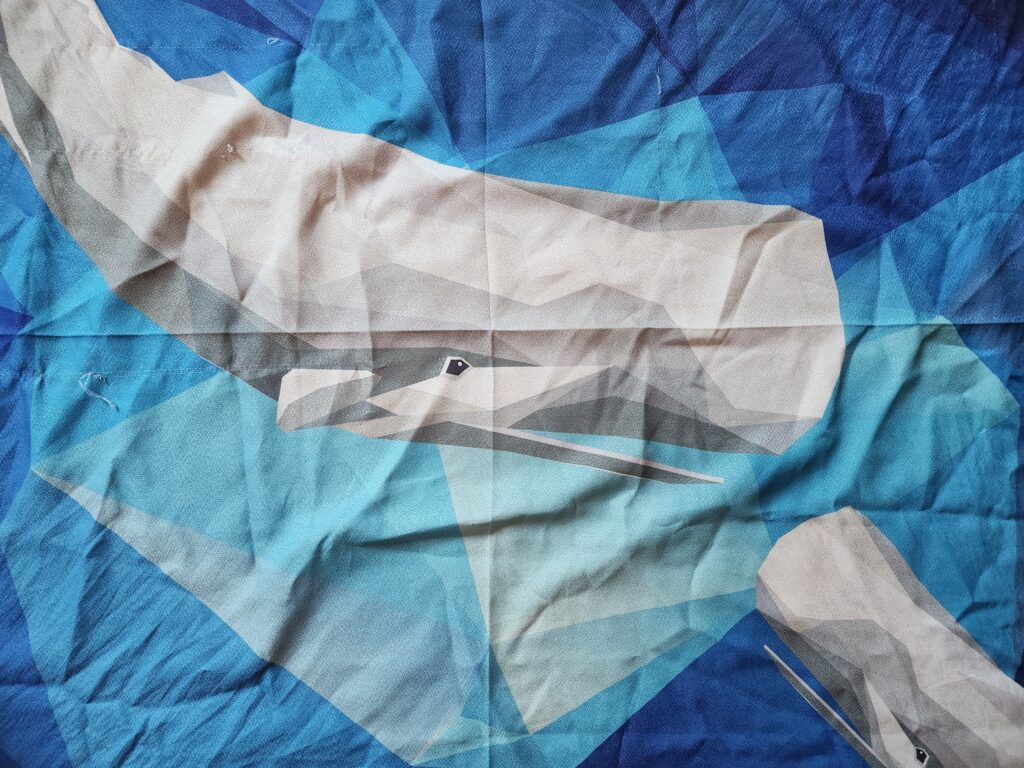
A furoshiki is a traditional Japanese cloth that was originally used for wrapping presents or generally carrying stuff. They are perfect to catch all of your rope and bundle them together. Once untied, your rope is already laid out for you and you are ready for a shibari session. Also, cleanup is easy, since you just throw all of your rope on a pile, tie up your furoshiki, and you’re ready to go.
Furoshiki come in all sizes and patterns. This is a good option to bring out your personality and show what you like. We got a big blue whale since we really liked the pattern. And if you spot a new pattern, who’s gonna stop you from getting multiple? 😀
Essentials
Safety Equipment
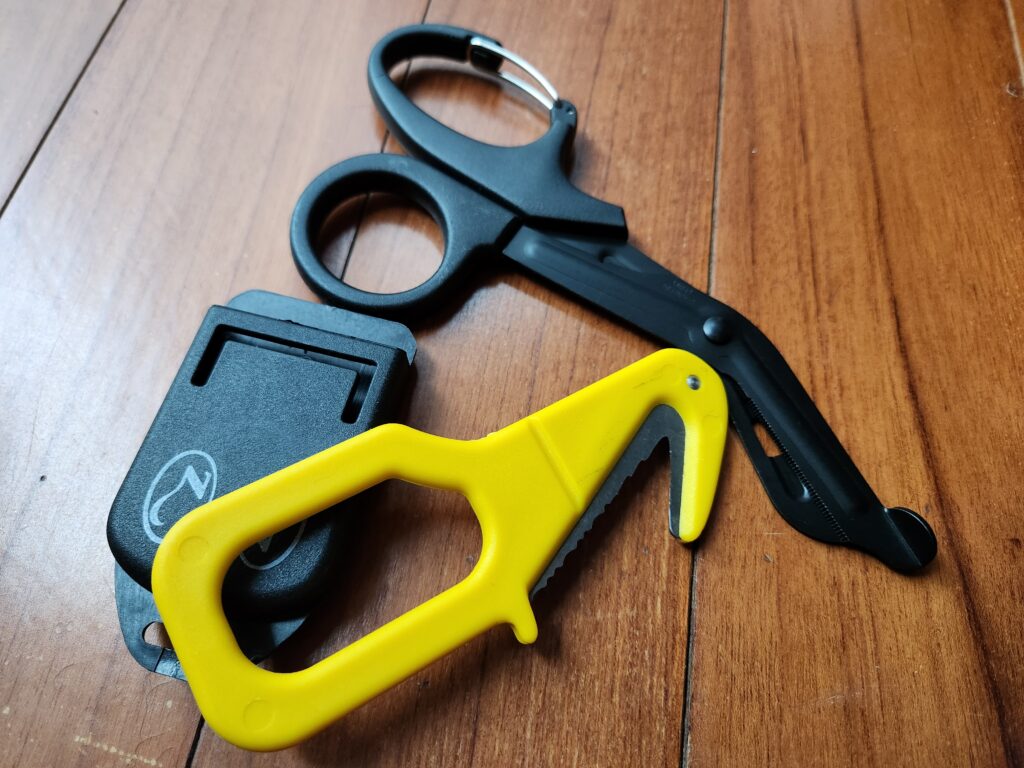
Before you even start, the most important thing to have is safety shears or a safety hook in order to cut your rope for emergencies. We would recommend at least two items in this category at all times. When you are in an emergency situation, you do not want to scramble through all your gear to find that one shear.
We really like the safety hook, since it is a bit more compact and has a nice clip. It is always on my person if I am tying up, so I know where it is. As a bonus, it has a neon color, which makes it easy to find even when it is dark.
Where can I get it?
Almost all shops that sell rope also sell safety shears. If you do not have that option lots of pharmacies do sell them as well. As for the hook, many dive shops are selling these. In Hong Kong, we needed to check out a few until we could find one, but they are generally available.
First Aid Kit
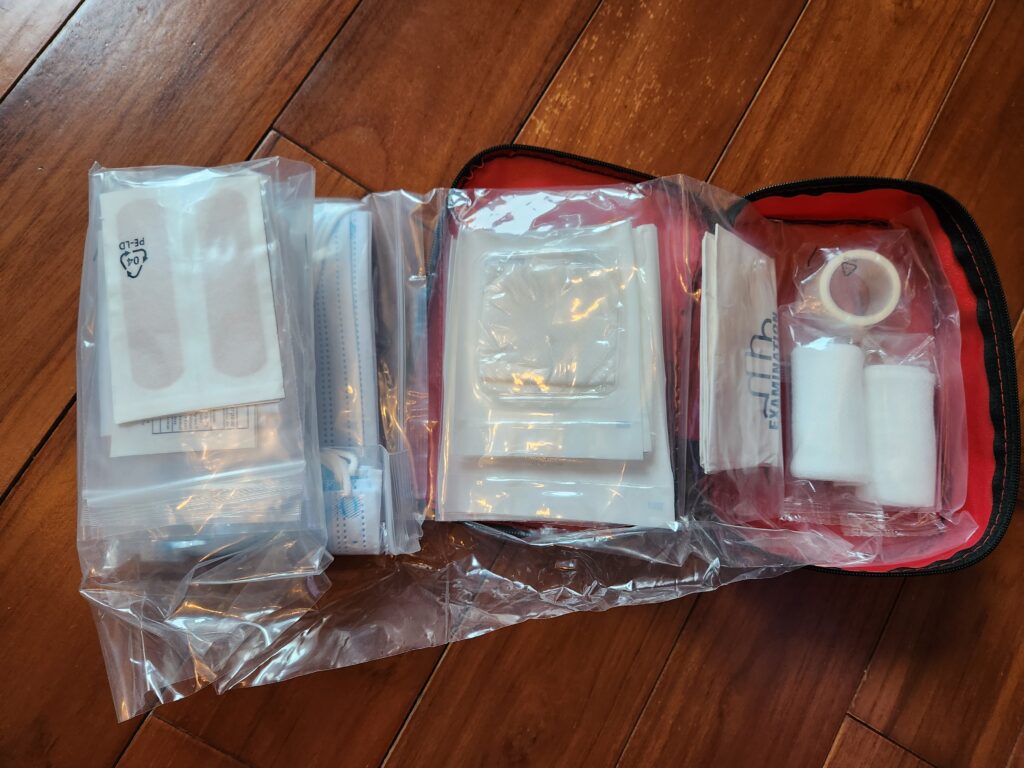
We always bring a small first aid kit, to be prepared if something goes wrong. You can buy them prepacked from pharmacies or car repair shops. We additionally spiked ours with some more helpful items. Some light painkillers and some additional plasters for smaller nicks or rope burns are always nice to have at hand.
Rope Kit

Safety Covered, only then we talk about rope. For our rope kit, We chose 6 mm jute rope from Nawaya. The length of the rope is based on preference, who you are tying, and also what you are tying. If you have a dedicated rope partner you will start to learn where you need to extend rope for certain ties. Some lengths simply are unfavorable for visual aesthetics or get in the way of knots. Nothing is unsolvable, but it is good to have the flexibility where your rope extension ends up.
Our rope Lengths are:
- 3 x 10 m rope
- 6 x 7 m rope
- 2 x 3.5 m rope (one 7 m cut in half)
- 1 x 5 m rope (one 10 m cut in half)
- 2 x 2.5 m (cut the half 10 m again)
A Bag
With all your essential gear you need to have some way to transport it. We do really like duffel bags since they are spacious enough to bring all your gear and do not cause any looks like a furoshiki would.
I happen to have a Fjallraven, that I have used as a travel bag for years which we put all our items in
Carabiner

Carabiners are the jack of all trades in Shibari. Need a way to attach your hard point? Check. A pulley system for your uplines? Sure. Do you want to have several loops for your suspension ring? Just add a few carabiners!
The most important thing is that they are rated for climbing, so not the cheap plastic ones. Everything above 20kn – about 2 tonnes of force – is usually fine.
Carabiners come in all shapes and sizes. We generally would recommend some with a lot of space inside the carabiner so you have a lot of space for your rope.
In terms of the locking mechanism, there is either a screw-lock or a twist-lock. We generally prefer the screw lock since we like the handling more – they need less fiddling to get them open initially. But this is entirely based on preference.
What we would not recommend is carabiners without a lock. While they are working well on the happy path, if something goes wrong they can drop your model and be a serious safety risk. We have some in our kit but we only use them to hang our tools.
Situational
Tubular webbing
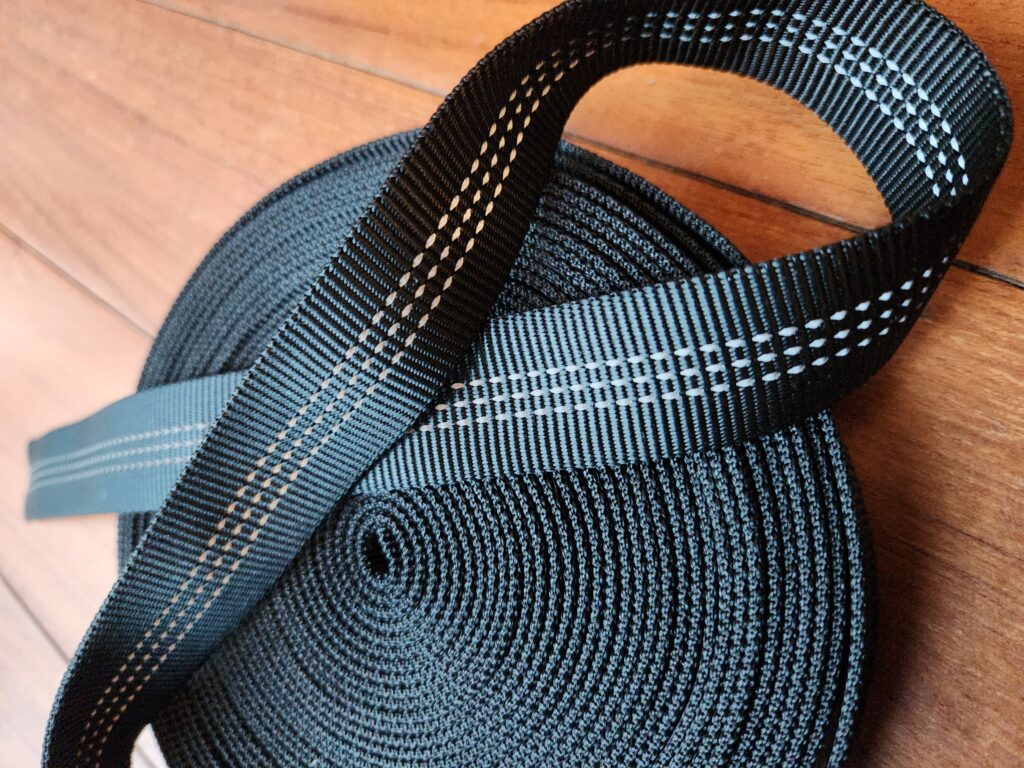
This is a versatile multi-tool that we always bring if there is any suspension planned. You can think about it as a really sturdy and extra-long rope that you don’t need to be worried about getting dirty. If you want to create a hard point somewhere, and you need to put a sling around a metal frame, tree, or something else, we always use this webbing. It will never be used to touch any rope model’s body, so we care less if it gets dirty or grimy.
Additionally, you can buy really long tubular webbings if you have a really high hard point. You can then adjust the height of the actual hard point according to your and your model’s height so you can reach it easily.
Lastly, since they are flat, they roll up really well and do not take up too much space. It’s an easy thing to bring and you can create your hard points anywhere.
Make sure that this is also weight-rated, so it can be used for suspension. Many tubular webbings are not weight-rated, and you should not use them for suspension purposes.
Suspension Ring
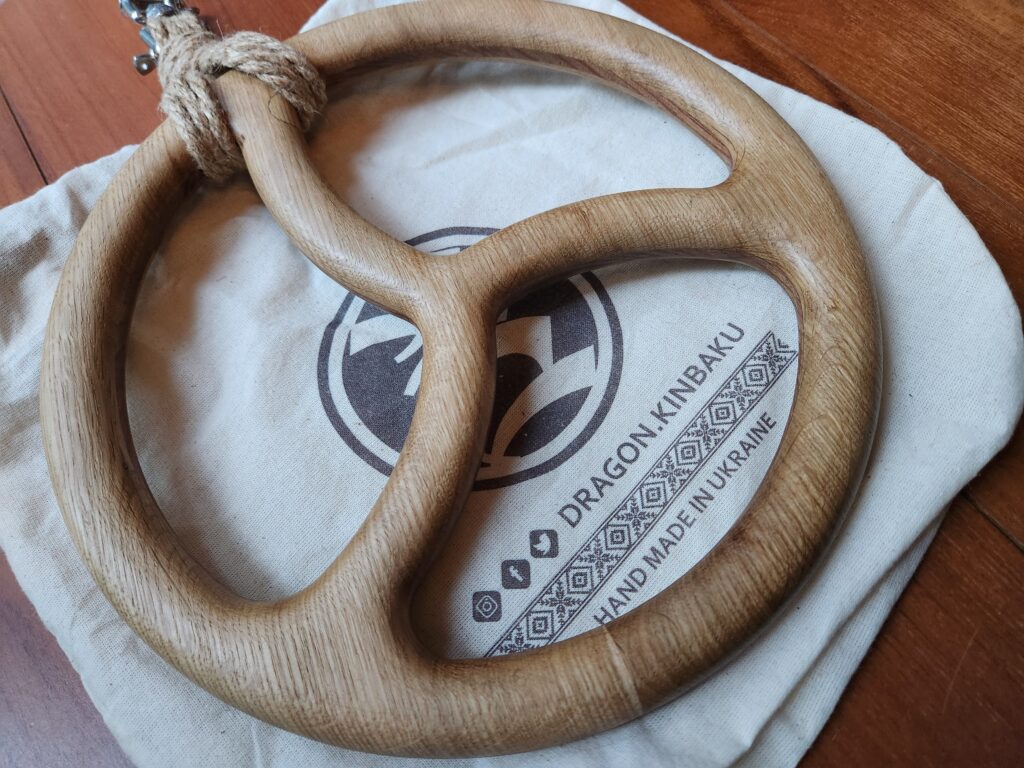
Very often, if you are out and about, carabiners are a more versatile tool for creating hard points. However, having an actual suspension ring is just nicer to work with. They come in all kinds of patterns, from a plain ring to designs that help you separate your uplines a bit better.
We have a suspension ring from Dragon Kinbaku made out of wood, and the design is just amazing. It has a steel core to ensure it is safe for suspension. We really like the functionality of it as well, since it is thicker than most metal rings, making the rope glider over it better.
The only downside with a wooden ring is, we would not recommend adding a carabiner to it to create more separation. Metal on wood might damage your ring.
Suspension tripod
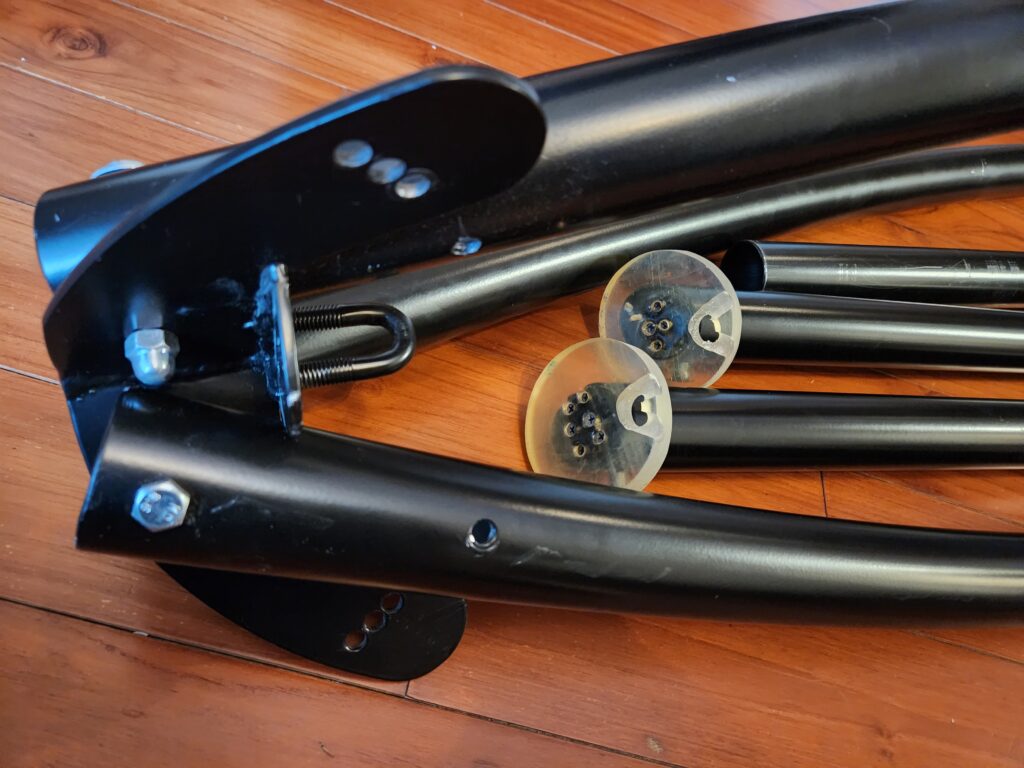
Very rarely do we bring our suspension tripod, but if you have anything specifically planned outdoors it can be an amazing thing to have. Setting it up on the beach or on top of a mountain is just amazing. Not only do you get really great pictures, but the feeling of suspending on a mountain is just uncompareable.
Our tripod is from Dragon Kinbaku, and it is fairly portable. It came with a bag and a protective sheath to avoid scratching. The setup can be done in 5 minutes with a simple tool. We would not bring it on extensive hikes, but with 10 kg, you really can schlepp it somewhere somewhat reasonable.
Conclusion
That’s it, that’s all we have in our rope kit! As we said, we don’t bring every item every time, and such a kit is very personal. So, what’s in your rope bag? Please leave a comment or send us a picture at our Instagram.
Last but not least, as this is our first blog post, we want to show you more than our rope bag. This will be the beginning of our journey, how we learned rope so far and how we will continue to learn. So stay tuned and follow us on Instagram.
Note: Shibari involves potential risks, so prioritize safety and follow guidelines based on your comfort level. Clear communication, education, and awareness of physical and psychological safety are crucial. Be prepared with emergency tools and respect individual limitations for a safe experience.
